YOLO
YOLO is one of the popular methods to detect objects in an image. Object detection means that the detector provides the coordinate of each object detected in a photo in addition to the label of each object.
Below photos show how YOLO identified my dogs’ positions in each photo indicated by bounding boxes:
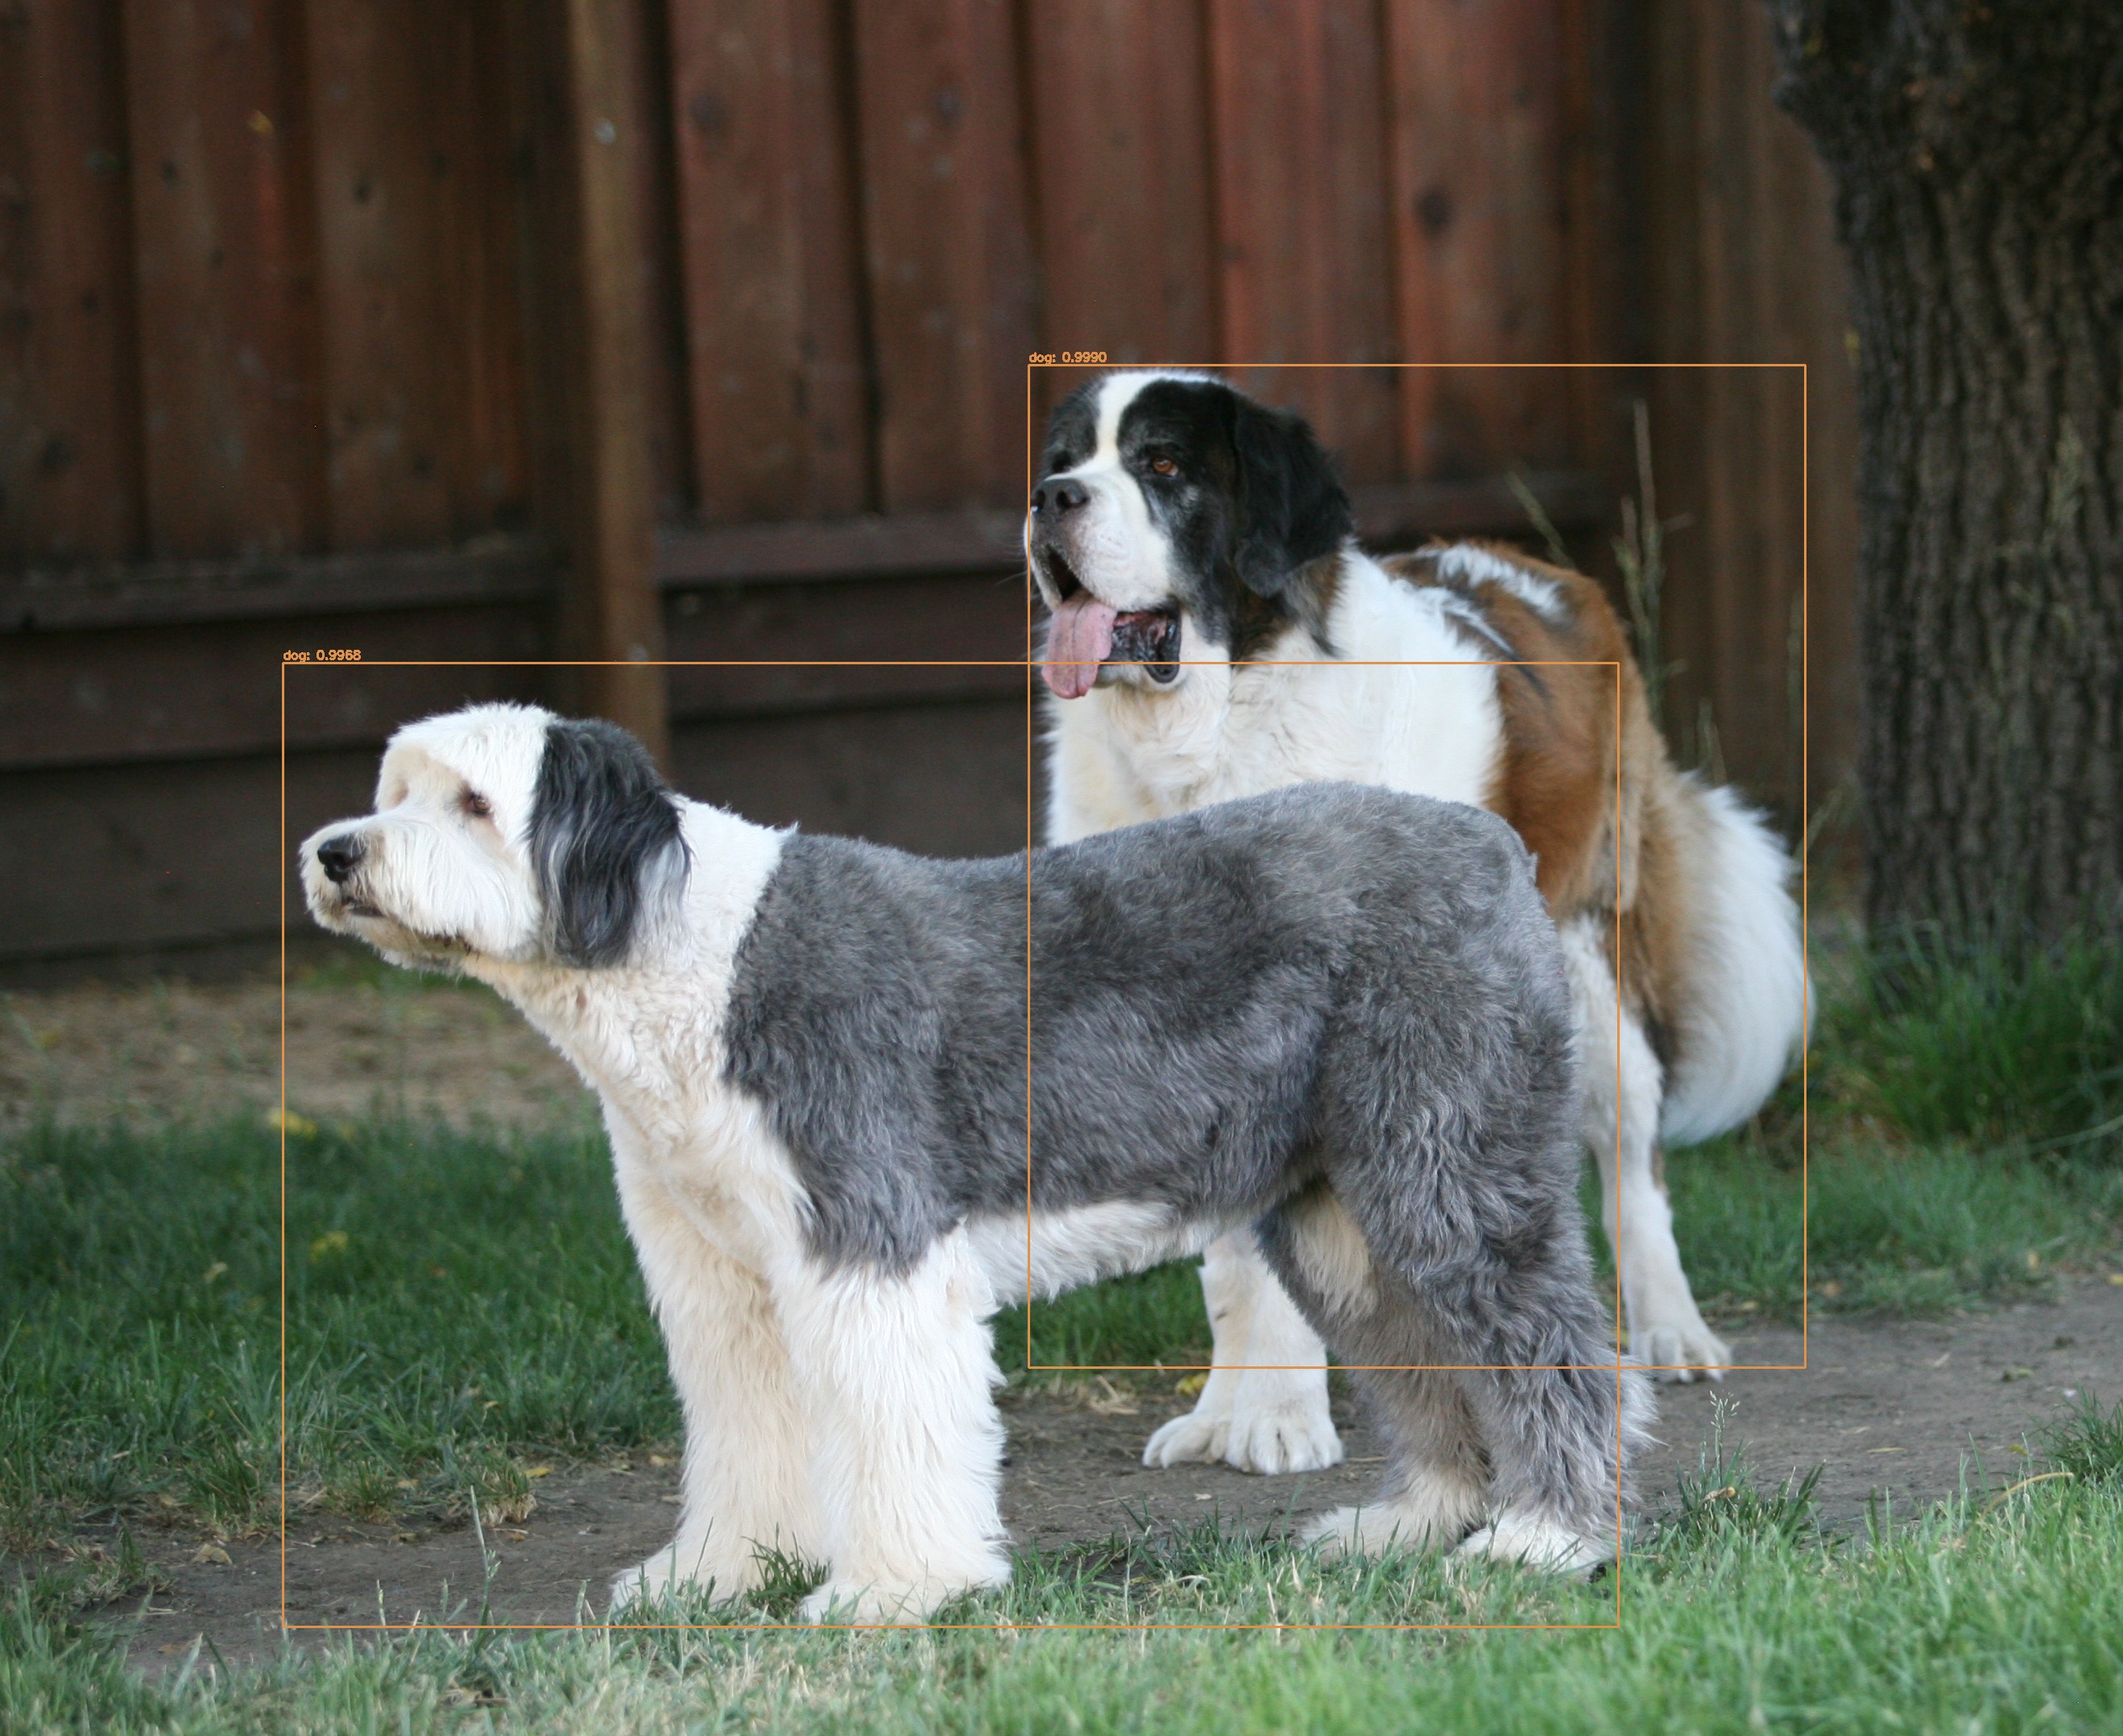
Maddie and Olivia

Aimée (the big puppy ;-)
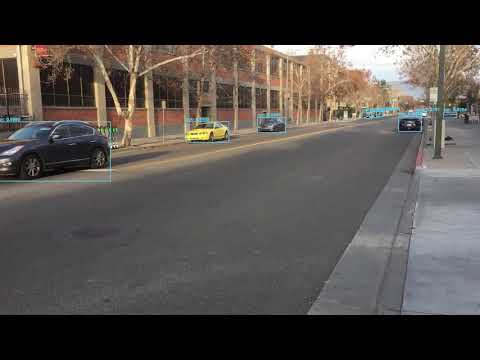
I created a a short video clip to demo how YOLO processes traffic on a city street. I took a video of Taylor St in downtown San Jose and ran it through YOLO to mark objects’ location.
Here are the steps that you want to follow if you want to do this yourself:
- Prepare a video
- Capture a video or find a video you want to use for object detection.
- Extract frames from the video (e.g. using ffmpeg)
- Go to the YOLO developer’s main website. Follow instructions on the website:
- git clone the source code
- Download pre-trained weights file
- Build using make
- Run an example program
- Go to pyimagesearch.com and download the example Python code to use YOLO with OpenCV’s neural network module. The site has detailed instructions for the example.
- Copy three files from your local YOLO installation to a directory under the example code
- coco.names
- yolov3.weights
- yolov3.cfg
- Make sure that the example code works.
- Tweak the code to read video frame files and output frame files.
- Run the script
- Copy three files from your local YOLO installation to a directory under the example code
- Combine frames to a video (e.g. using ffmpeg again)